
 AsyaTicari
 AsyaRestoran
 AsyaOtel
 AsyaCrm
 AsyaKlinik
 AsyaSpor
 AsyaSSH
 AsyaEmlak
 AsyaFilo
 AsyaPuantaj
 AsyaİSG
 AsyaİHD
 Kolay Öğren
AsyaKlinik · Appointments
Appointment details
Read-only summary of one appointment; accepting the patient, admitting to examination, registering and going to the patient card.
The appointment details screen shows one appointment and lets you take it into examination. Open it with Show on a row of the appointment calendar or of the Appointments list on the patient card.
asyaklinik · /patients
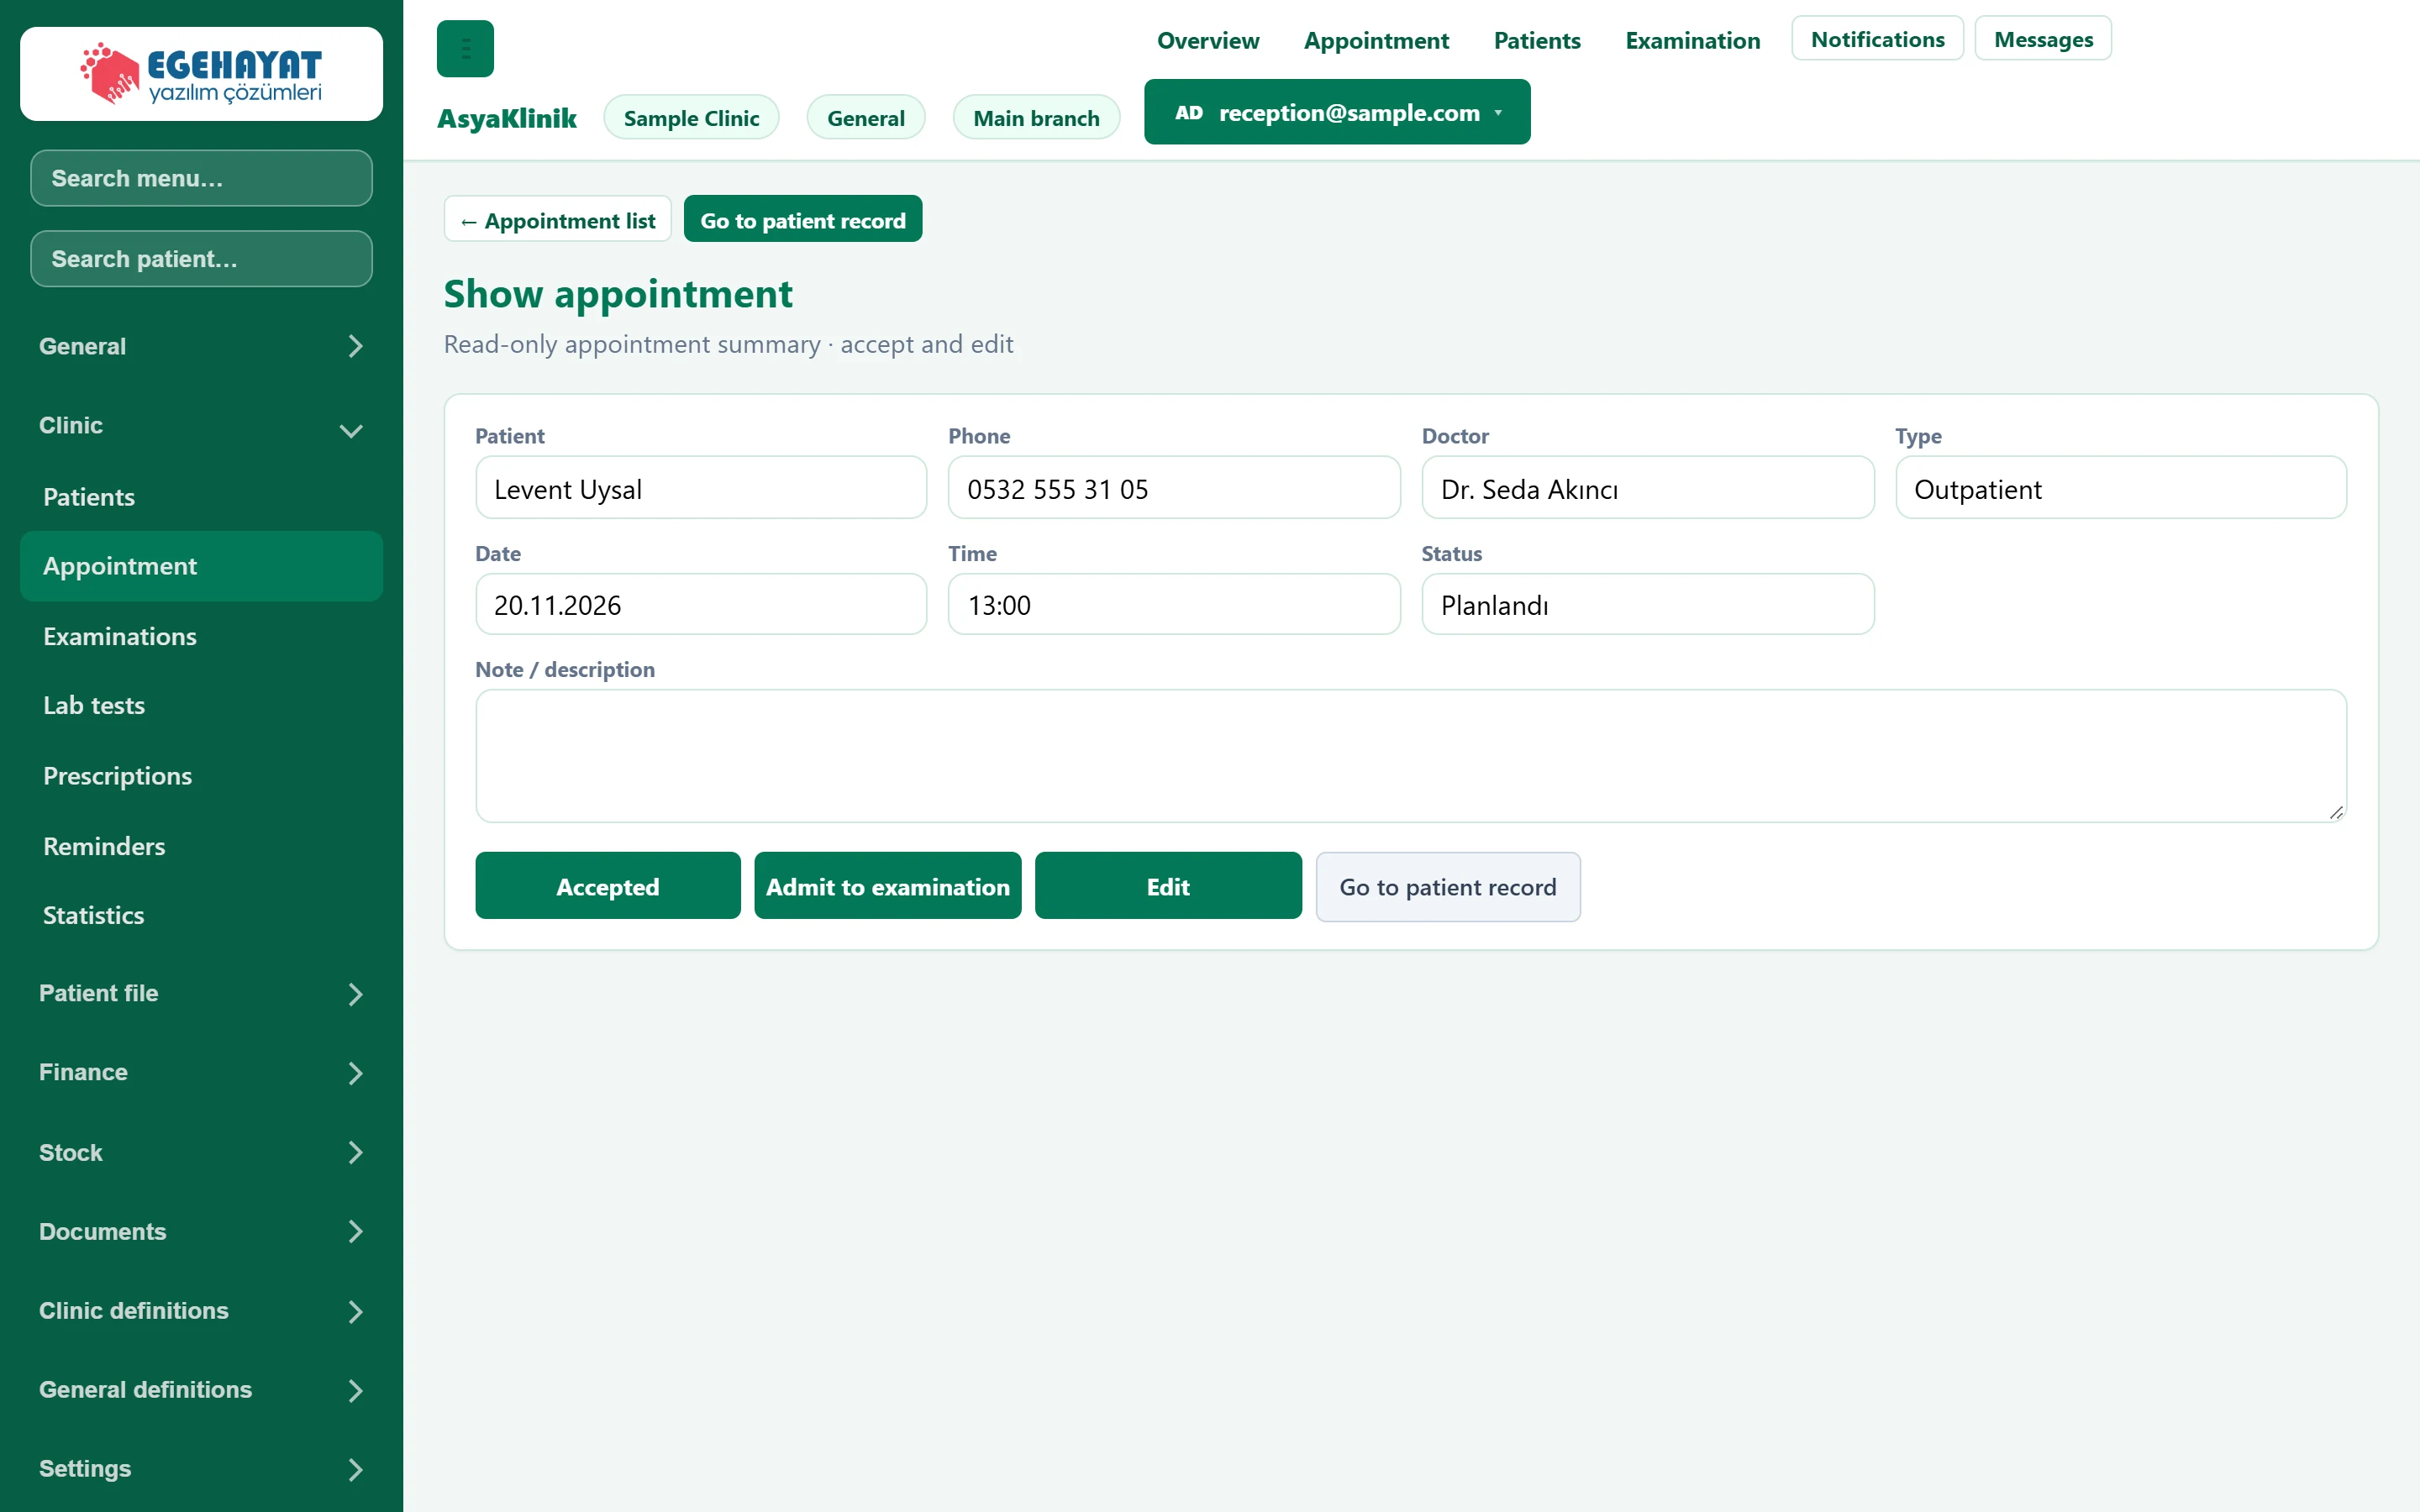
- 1← Appointment list Returns to the appointment calendar.
- 2Go to patient record Opens the patient card.
- 3Appointment details Read-only summary of the appointment.
- 4Actions Accept, admit to examination, Edit and patient card.
Appointment details and actions
Part of the screenAppointment details and actions
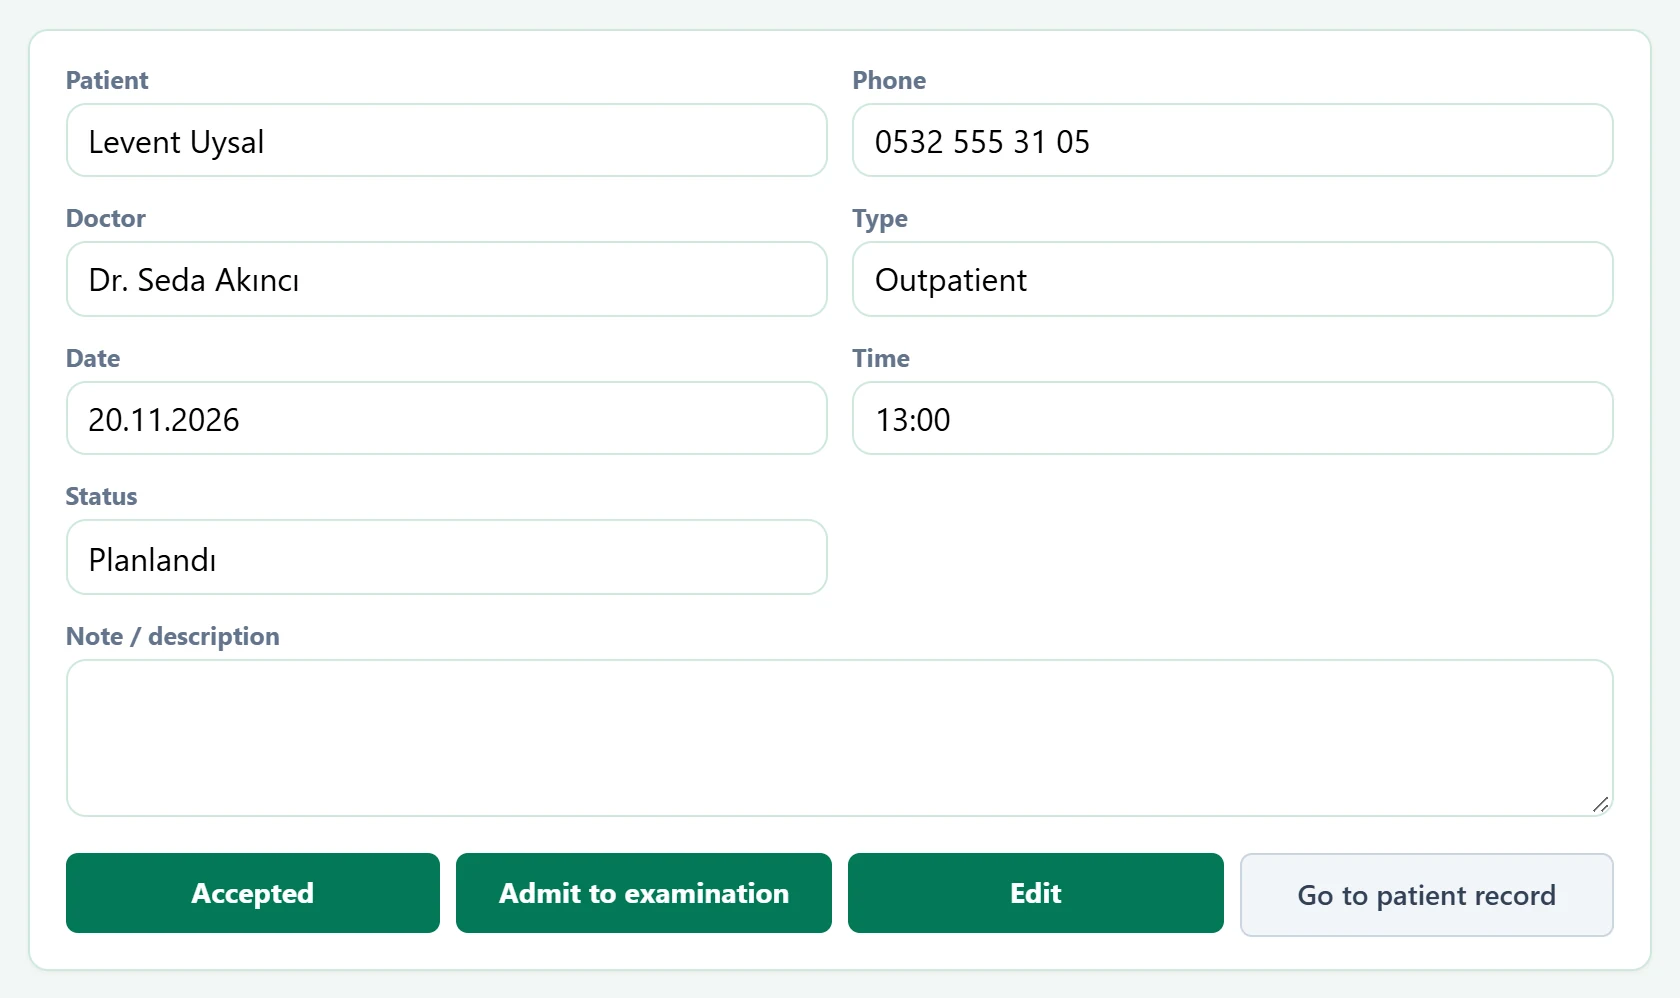
- 1Accepted Marks the patient as arrived; the appointment becomes Accepted and you stay on the screen.
- 2Admit to examination Accepts and opens the examination screen.
- 3Edit Opens the patient card; the appointment is edited in its appointment list.
- 4Go to patient record Opens the patient card.
| Field | Sign in | Description |
|---|---|---|
| Patient | Text | Patient of the appointment. |
| Phone | Text | Phone stored on the appointment. |
| Doctor | Text | Doctor who has the appointment. |
| Type | Text | Outpatient, follow-up or pre-registration. |
| Date | Text | Appointment day. |
| Time | Text | Appointment time. |
| Status | Text | Scheduled, confirmed, arrived, accepted, completed, no-show or cancelled. |
| Note / description | Long text | Note written on the appointment. |
The fields are read-only. The buttons depend on the appointment status:
- Accepted (accept) and Admit to examination only appear while the appointment is not yet accepted, completed or cancelled.
- On an accepted appointment Go to examination appears instead.
- If the appointment is not linked to a registered patient (e.g. a phone pre-registration), Register patient appears; the patient card opens to complete the registration.
Admitting the patient: step by step
- When the patient arrives, press Admit to examination.
- If the appointment is linked to a registered patient, it becomes «Accepted» and the examination screen opens.
- If several patients match the name and phone on the appointment, the Select patient window opens; mark the right one with Select. If none is right, use None of these, register patient.
- If no patient matches, a warning appears with the Register patient button; once the registration is complete the examination opens.
To only mark that the patient has arrived, press the accept button; you stay on the screen and open the examination later with Go to examination.
Common warnings
| Warning | Cause | Solution |
|---|---|---|
| No registered patient was found for this appointment. Register the patient first. | The appointment is not linked to a patient card and no patient matches. | Open the patient card with Register patient. |
| Could not be accepted. | The server rejected the acceptance (e.g. the appointment changed meanwhile). | Refresh the page and try again. |
| The patient could not be linked to the appointment. | The choice in Select patient could not be saved. | Choose again; if it persists, book from the patient card. |
| Appointment not found. | The appointment was deleted or belongs to another branch. | Reopen it from the appointment calendar. |